Canning is a great way to preserve fresh food for a rainy day. Not only does home-canned food taste better, but it’s often cheaper than buying a similar item at the store. Plus, you get the added benefit of knowing exactly what’s in the food you eat!
Unfortunately, the perception that most people seem to have of home-canning is that it’s too difficult and time-consuming to actually undertake. Not so, and we intend to prove it! When we talk about canning with other people, we usually tell them to start with jelly. It’s where we started (the kids love PB&J for lunch so canning our own jelly saves us a TON of money!), and it’s the easiest way to learn the basics of canning and still produce something useful, inexpensive, and long lasting for your family.
Here’s how we make strawberry jelly, from beginning to end.
Ingredients:
4-5 quarts strawberries
7 cups sugar
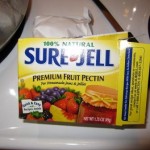
1 box pectin
1 sliver butter
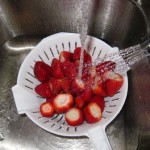
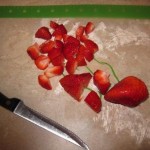
1.) De-cap and thoroughly rinse strawberries.
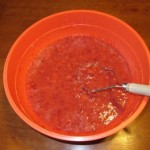
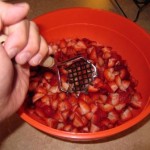
2.) Toss them in a blender or cut and hand-crush them with a potato masher. We prefer the masher because we like our jelly with a few chunks, but the blender is probably easier.
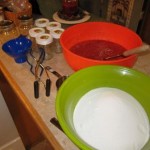
3.) Measure 7 cups of sugar into a large bowl – put aside for later.
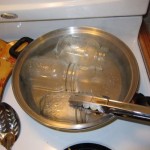
4.) Fill a skillet halfway full of water. Put on stove at medium-high.
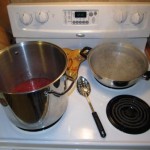
5.) Measure 5 cups of strawberries into a stock pot.
6.) Turn stove on high. Stir in box of pectin.
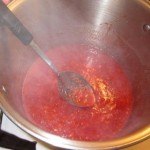
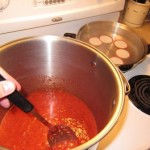
7.) Continually stir berries and pectin until it reaches a sustained boil.
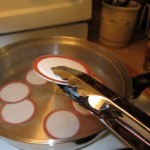
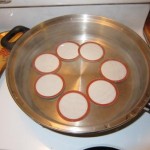
8.) While berries are heating up, boil/sanitize jars in skillet. Remove and place on a towel beside the oven. Turn oven to medium/low and soak lids until they are ready to use. (May need to do this before if you don’t have an extra set of helping hands in the kitchen while you are working!)
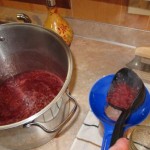
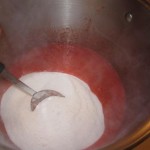
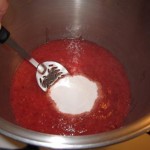
9.) Stir in sugar and butter slice. Constantly stir until it reaches a full, sustained boil (this will take some time – don’t stop stirring!). Stir for one minute after that point, then remove from burner.
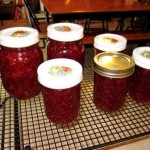
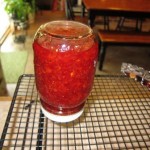
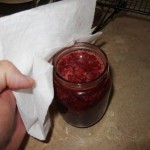
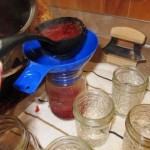
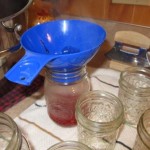
10.) Ladle jelly into jar (a canning funnel helps a lot here). Wipe rim of jar with clean, wet towel or washcloth, use tongs to remove a lid from water and place it on jar. Place and (barely) tighten ring, then place on a rack upside down. Repeat until all jars are full. Leave each jar upside down for 3 minutes or so, then turn right-side up. *Remember that cans will be EXTREMELY hot, so handle with a pot holder.
(Another method is to place the jars in boiling water for 10 minutes or so instead of turning them upside down. This is the ‘water-bath’ method. Either will work.)
Additionally, we purchased a canning set that came with the funnel & tongs to pick up the jars! This is VERY handy and well worth the few dollars we spent.
You’ll then soon discover one of the sweetest sounds you will ever hear, the ‘pop’ ‘pop’ ‘pop’ of your cans sealing, telling you about a job well done! (If, however, a jar doesn’t pop after an hour or so, just put it in the fridge and use it first!)
This is a great way to start learning to can, without the worries of using a pressure cooker.




How can I get permission to reprint one of your articles on our website?
Hey Joe – That would be great – as long as you include a link back to our blog it’s no problem! 🙂
Would you be interested in doing some writing for us? Is there some way to contact you privately?
Hey joe. Possibly! Sry just saw this. Write me at amorefieldlife@yahoo.com.